Have you ever printed something expecting quality worthy of the Louvres and ended up with an unusable pixelated piece of crap? "But it looked good on my screen!" Imma right? Whoops.
Sit down, young padawan. I'm about to teach you what are dpi, PPI, and screen resolutions and how they impact your designs. Then, just because I'm thrifty, I'll show you how to find those settings in various tools you might be using right now.
First things first: resolution lingo and basic principles
All right, it can be confusing, so let's start a lexicon here as a reference for later:
dpi
Dots per inch: in printing, it refers to the physical dots per density of printing technology. The higher density, the better your picture will look, as there are more dots to build the image with. It's a little bit like how Nintendo was 8 bits, Super Nintendo was 16, and Nintendo 64 was 64 bits. The higher the number, the better looking the graphics will be.
For example, you know, how when you look at people's faces in newspaper pictures, and you can see them polka dots? It's because the dot per inch capacity of the paper is low. The newspaper is printed at 85 dpi. Newspaper's well, paper is somewhat absorbent, thus if you print an image with too many dots per inch (and we're not even talking about color printing here, only black - 1 ink!), the ink will bleed, and the image will get blurry. Here's what different grids look like for the same dimension: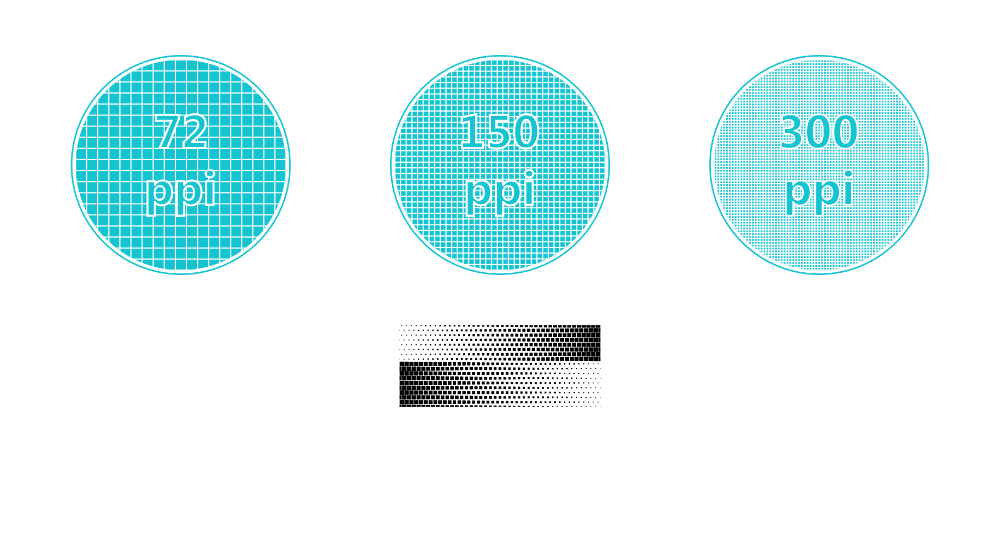
Above, you can see how monochrome gradients are handled in a dpi/ppi manner. You know, those halftone filters you're using to seem pop art or grunge? Yep, that's from the old printing tech's limitations.
ppi
Pixel per inch: In images and pictures, we change d for p since it's more accurate when referring to pixels.
Screen resolution
Resolution alone refers to the amount of detail in an image. but Screen resolution? This is where it gets funky. So far, I only spoke about dots per inch and print. Cool. Easy-peasy. Now, imagine that the grid that creates the dots per inch is also surfaced through a device that HAS A GRID. Nice, uh? Not confusing at all. I know.
Most computer monitors display a 72 ppi grid. Then, come in some higher resolution screens at 96 dpi and the ever so fun Retina displays from Apple.
Retina displays have a native resolution of 2560 x 1600 at 227 pixels per inch and support millions of colors. However, retina displays vary depending on device types and device generations. Generally speaking, it's a resolution close to or above 300 dpi. The goal is to make the image the centerpiece of the content because the resolution is so high that the pixels are indiscernible.
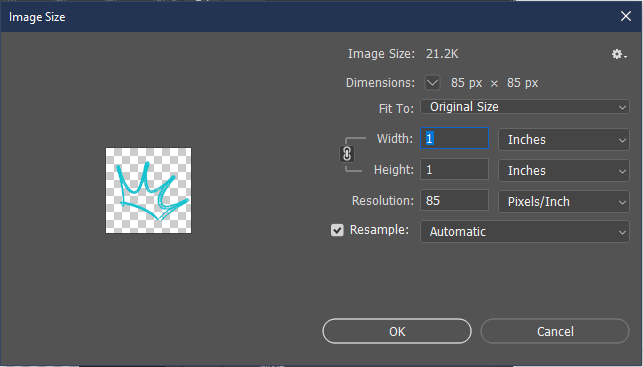
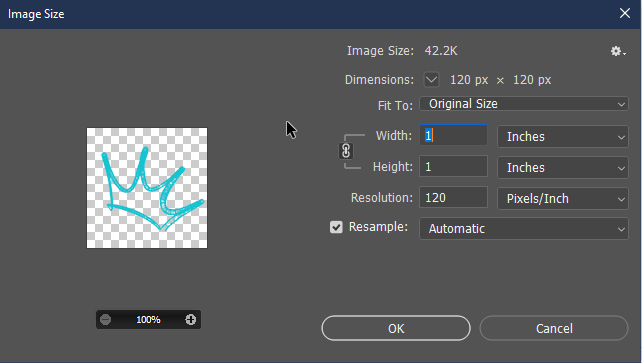
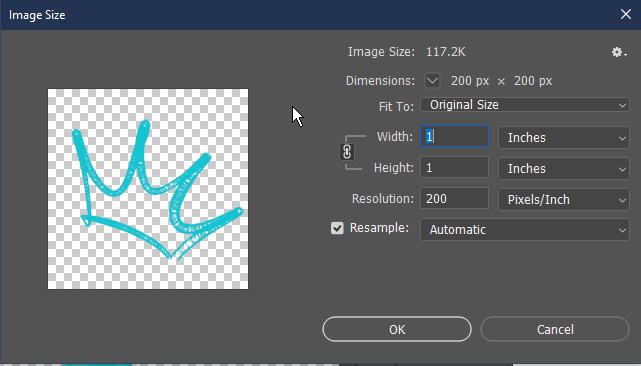
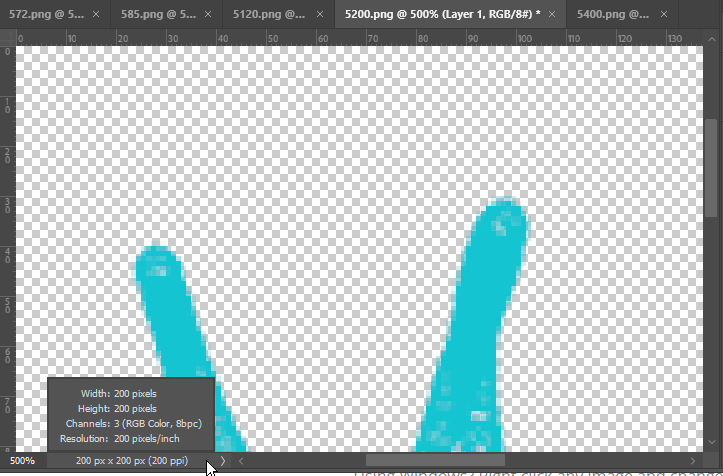
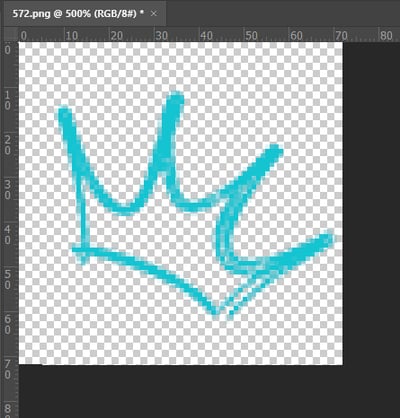
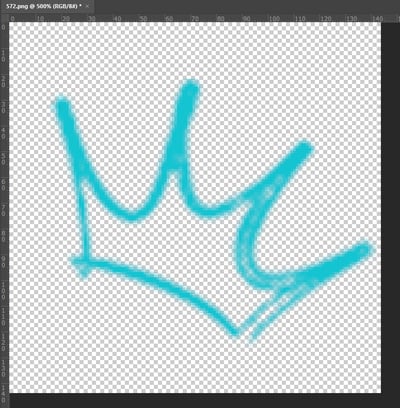
All of this is to say that your screen is limited in the number of pixels it can show. If you have an image that is 1" x 1" in the physical world, the way that same image is displayed on your screen will depend on its resolution. I attempted to show this here: In these 4 images (each zoomed at 500% for ease of demo), the only thing that varies is the resolution in ppi of the image. The image size does not change and will print at 1 inch x 1 inch, no matter what. However, each image has a different ppi.
 |
In this one, the image fits into the screen because 72 dpi is easy to surface on 72 ppi. The inch-wide image is displayed in its entirety. |
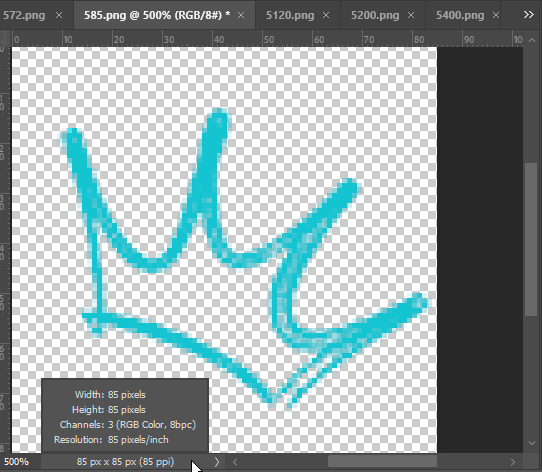 |
Uh ho. Now, we're asking for a 72 ppi screen to display 85 dpi image. The image appears wider simply because we need more than the 72 ppi given in an inch of the screen to show the 85 dpi inch we want to print on paper. So, at the same zoom, an image printed at the same width will appear bigger on the screen, allowing you to zone in on each pixel of the curves with more details. This image will print with higher quality than the one above. This is a newspaper resolution. |
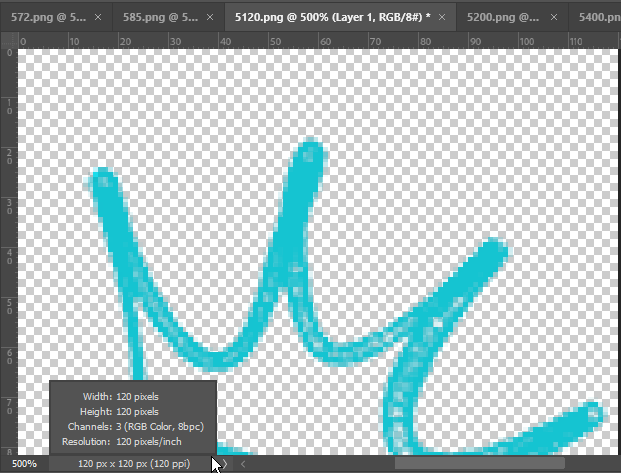 |
Again, same image. Same zoom. Now at 120 dpi, displayed on 72 dpi screen. You see how the image is now taking more of the screen to allow us to see even more pixels per inch. Again, this image will print better than the one above. As a reference, most magazines print at 133-150 dpi. |
 |
You get it, right? |
What happens when you increase the resolution of an image?
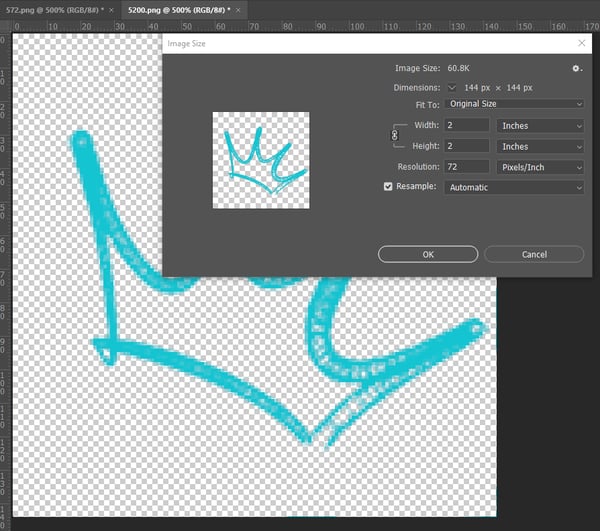
If you take the 72 dpi image above and stretch it from 1 inch to 2 inches wide, you'll be "stretching" pixels, losing picture quality both on screen and in print. It'll look like this: the same resolution but a bigger printing zone. Since the image started with such a low resolution, it didn't have much to go by when we stretched the image to double its size. It stretched and pulled what it had, and we now have a super blurry mess.
BUT, if you start with an image with a high resolution, you have more flexibility. 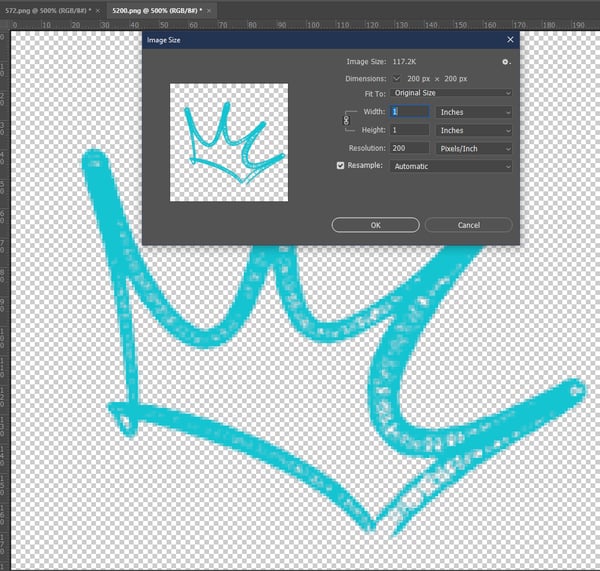
If you intend to use this image on a web design, you can lower the resolution to 72 dpi without stress. It'll also make it lighter, and load faster, which is better UX. It also means you can now stretch the image bigger if you need it — but to a point. Since we went from 200 ppi to 72 ppi, we don't lose quality by making the image size double its size.
Find print quality or DPI in your tools
before going into the deets here, a reminder. Saving a document or exporting a high res file will only do you good if all the images you used in the design you made were imported at high resolution, to begin with. If you import your logo from a 72 dpi, 400 px wide image, Canva is not magically going to render said logo to be printable on a billboard. They are tools. You are the brain. Don't do that, especially now that you understand dpi and ppi. It wouldn't be great.
Find in Canva
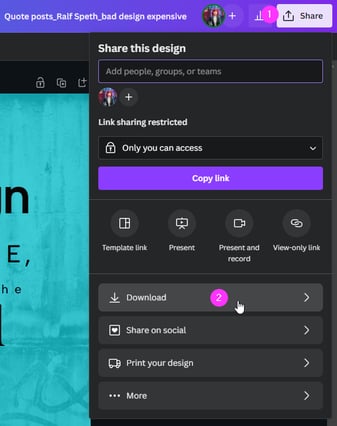
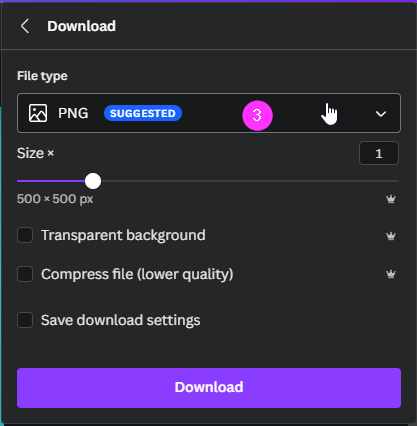
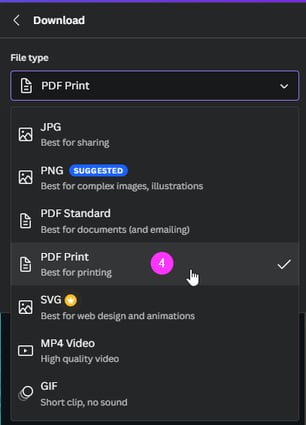
In Canva, if you want to print your design into Printing quality, you'll need to hit Share, then Download. Then, under File Type, select PDF Print. Booya.
Find in PowerPoint
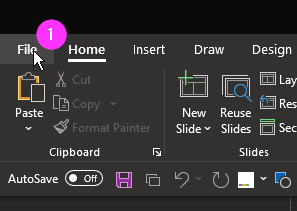
PowerPoint is primarily a computer display presentation tool, but if you're ghetto like me, you might be doing a lot of design work with the Microsoft tool. Sometimes, that means needing to print a PowerPoint brochure at high resolution. For PowerPoint, you'll need to go to Files, then Saves As.

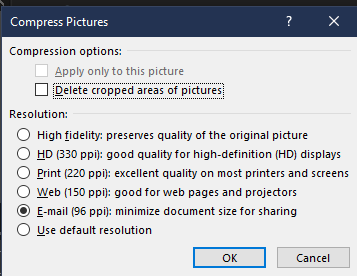
In that window, you'll search for Tools at the bottom right and scroll down to Compress Pictures... in the menu.
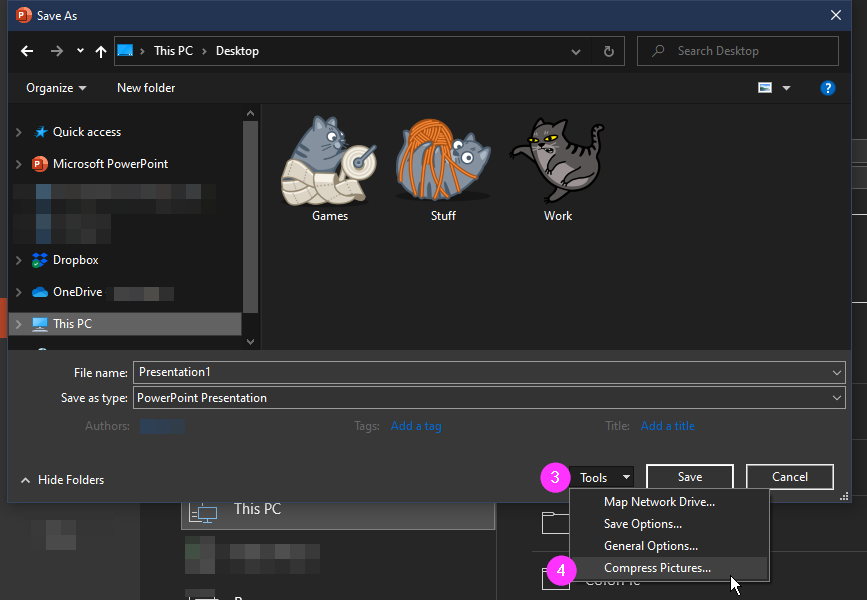
There, you will have the option to choose what quality you want your presentation to get saved.
Find in Adobe Photoshop
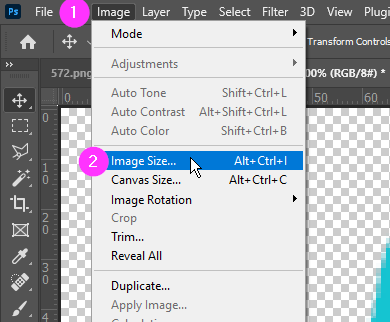
Here's your path to Photoshop resolution:
Go to image > Image size.
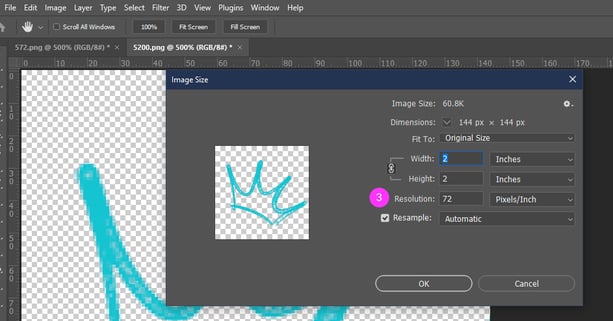
There input the resolution needed. Boom.
%20(2).png?width=347&height=50&name=Ghetto%20Logo%20%20(500%20x%20317%20px)%20(2).png)

